Progressively Enhancing Components: The Enhance Way

by Simon MacDonald
@macdonst
@macdonst@mastodon.online
on

When building applications with Enhance, we start with working HTML and then look for ways to progressively enhance the user’s enjoyment by using JavaScript. We are not “never JavaScripters,” but we are well aware of the cost in performance and loss of sales that excessive JavaScript leads to. With that in mind, we build our apps HTML first to ensure even the oldest of devices are supported and then look to improve user experience with judicious usage of JavaScript.
API Routes
For this blog post, I will build an app that uses the Dog API to fetch (pun intended) a random picture of a dog based on the breed that you select. Communication with the Dog API will happen on our server so we can send valid HTML down to the browser without using client-side JavaScript.
Our API route app/api/index.mjs makes two API calls to the Dog API to get a list of all the breeds and a random picture of a dog from that breed. Then the data we collect is returned to our HTML pages, where our custom elements can access it via their store property.
export async function get (req) {
  const { breed = 'shiba' } = req.query
  const response = await getJSON('/breeds/list/all')
  const breeds = Object.keys(response?.message || {})
  const dog = (await getJSON(`/breed/${breed}/images/random`)).message
  return {
    json: { breed, breeds, dog }
  }
}
I’ve omitted the getJSON method from the code sample above as it is just a fetching JSON.
Note: I’m not advocating for any particular dog breed or crypto coin with my default of shiba. I just like the look of those dogs.
Structuring our HTML
When building apps with web components, we compose our application out of smaller single-responsibility components. It leads to some extremely readable HTML.
<dog-container class="block mi-auto">
  <dog-header></dog-header>
  <dog-main>
    <dog-form>
      <dog-breed-select></dog-breed-select>
      <dog-submit-button></dog-submit-button>
    </dog-form>
    <dog-image></dog-image>
  </dog-main>
</dog-container>
Just look at that mark-up 👩🍳💋, it’s so easy to understand what is happening at every level without having to dig into the code to figure out what’s going on.
Form Components
Let’s focus on our form component, which includes a select and button element. Visually it looks like this:
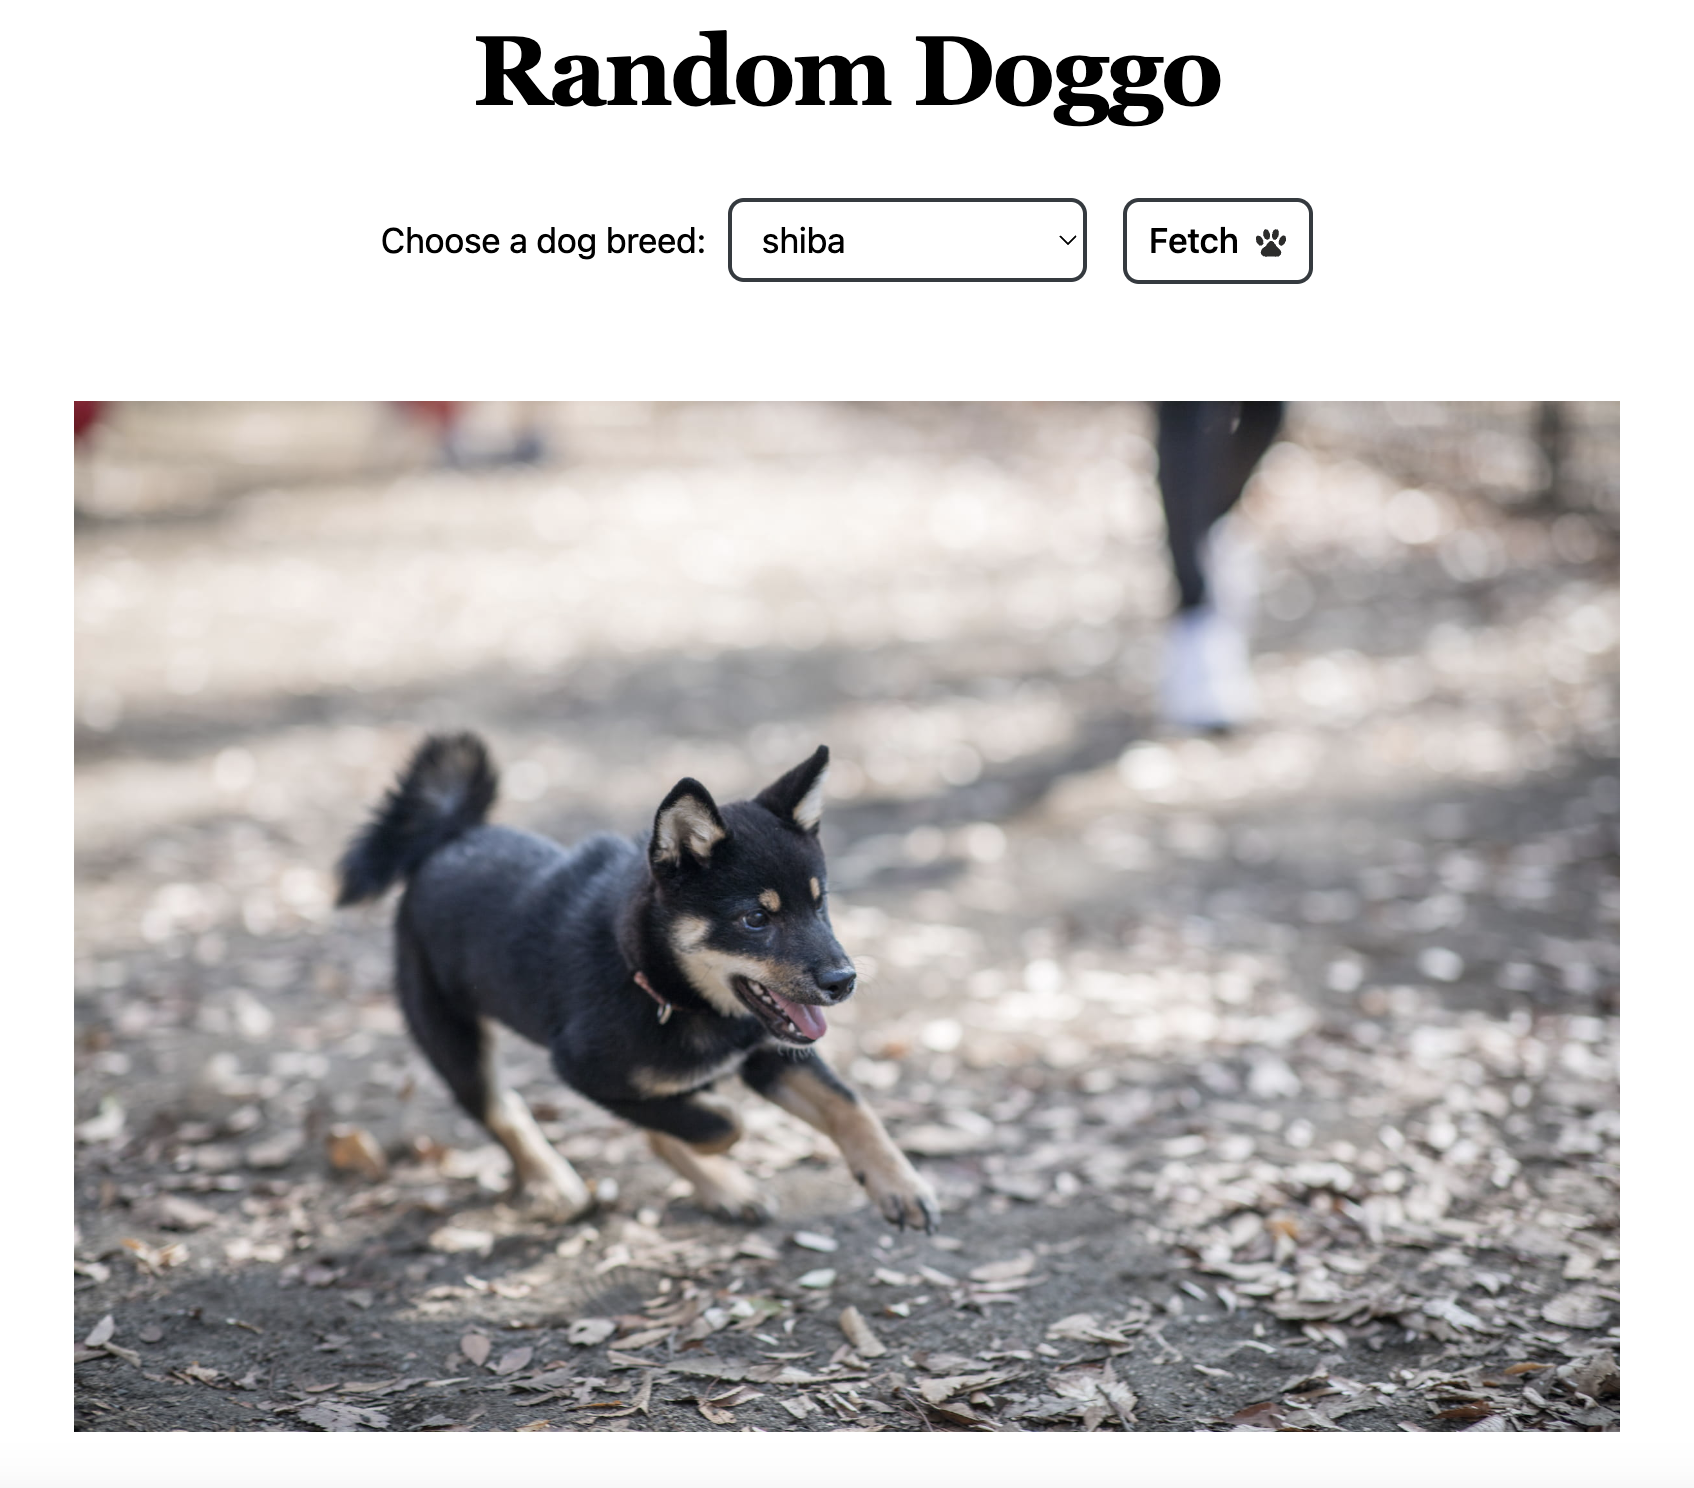
To get a new random dog photo, the user would choose the breed from the select element and then click the fetch button to make the request.
Let’s take a look at those components, starting with our dog-form.
export default function DogForm({ html }) {
  return html`
    <form class="mb-3 text-center">
      <slot></slot>
    </form>
  `
}
Our form element is simplicity itself. We don’t even need to waste bytes by providing the method and action attributes, as we can rely on the defaults GET and the current URL, respectively. Any child elements passed into dog-form will be slotted into the slot tag.
In our case, these are the dog-breed-select and dog-submit-button components.
export default function DogBreedSelect ({ html, state }) {
  const { store } = state
  const { breed, breeds } = store
  const options = breeds.map(
    breedname => `<option ${breed === breedname ? "selected" : ""}
    value="${breedname}">${breedname}</option>`
  ).join('')

  return html`
    <style>
      select {
        border: 2px solid var(--dark);
      }

      select:focus {
        outline-offset: 4px;
      }
    </style>
    <label for="breed" class="pie-5">Choose a dog breed:</label>
    <select id="breed" name="breed" class="mie-1 radius1 pi-2 pb-4">
        ${options}
    </select>
  `
}
We are just returning a select element whose options are generated from the list of breeds we queried earlier in our API layer.
export default function DogSubmitButton({ html }) {
  return html`
    <style>
      button {
        border-color: var(--dark);
      }

      button:focus {
        outline-offset: 4px;
      }
    </style>
      <button class="font-medium background-transparent radius1 border-solid border2 pb-4 pi-2">
        <span class="si-100 flex align-items-center justify-content-center">
            Fetch
            <span style="margin-left: 8px; display: inherit;">
                <svg></svg>
            </span>
        </span>
    </button>
`
}
Our submit button is nothing special, mostly just styling our DOM elements using Enhance Styles. Note: I’ve omitted the svg code for the sake of brevity.
When combined together, our app performs like this:
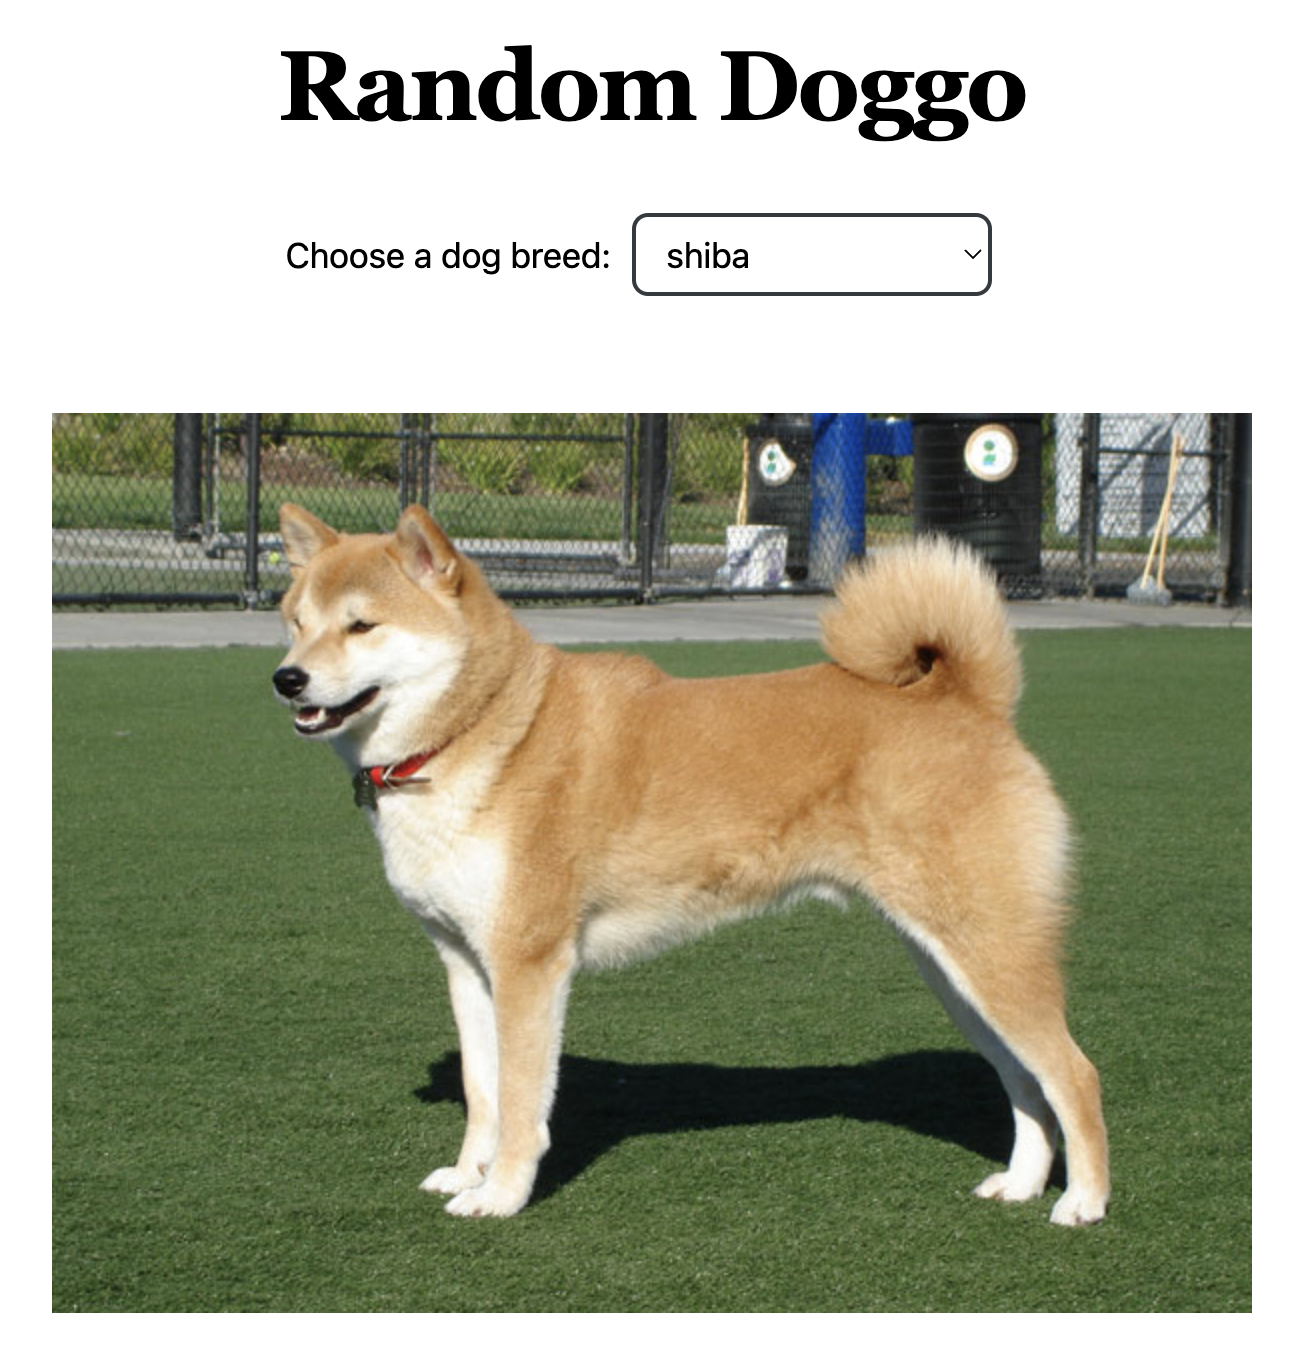
Enhanced Form Component
While we have a perfectly functional application, one thing bothers me, and that is the select/button combo component. I would like to fetch a new dog photo each time the user changes the breed selection without clicking the Fetch button. That’s where some client-side JavaScript comes into play.
We will update our dog-form component to include a script tag where we will define a custom element using standard web component APIs. Our updated dog-form component looks like this:
export default function DogForm({ html }) {
  return html`
    <form class="mb-3 text-center">
        <slot></slot>
    </form>
    <script type="module">
      class DogForm extends HTMLElement {
        constructor() {
          super()
          this.form = this.querySelector('form')
          this.select = this.querySelector('select')
          this.submit = this.querySelector('button')
          this.onChange = this.onChange.bind(this)
        }
        connectedCallback() {
          if (this.select && this.submit) {
            this.submit.classList.remove('inline-flex')
            this.submit.classList.add('hidden')
            this.select.addEventListener('change', this.onChange)
          }
        }
        disconnectedCallback() {
          this.select.removeEventListener('change', this.onChange)
        }
        onChange() {
          this.form.submit()
        }
      }

      customElements.define('dog-form', DogForm)
    </script>
  `
}
In our script tag, we:
- Define a new class called
DogFormwhich extendsHTMLElement. - Create a
constructormethod to create references to our form, select and button elements. - In our
connectedCallbackmethod we add an on change listener to the select element and hide the button as it is no longer required. - Our
disconnectedCallbackcleans up our on change listener so we don’t have a memory leak. - The
onChangemethod submits the form for us to fetch a new random dog picture.
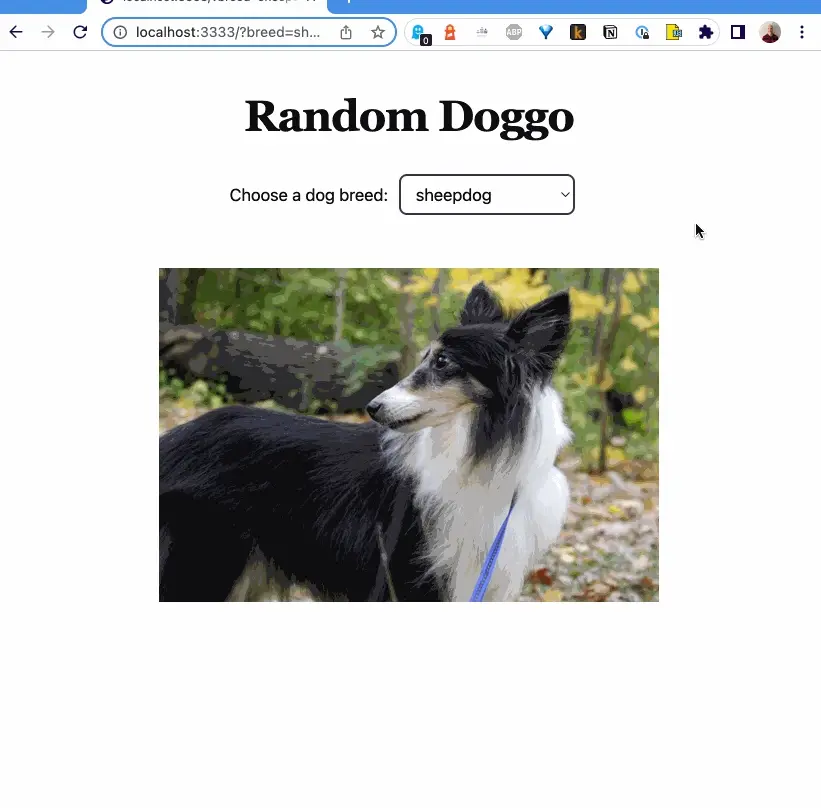
Now we have an application that works without client-side JavaScript but also progressively enhances itself to provide a better user experience when JavaScript is available.
Conclusion
While this isn’t a very advanced example of progressive enhancement, it provides you with a template for approaching PE in your own application. Make things work first using just HTML and CSS, and then see how you can improve the user experience with a sprinkling of JavaScript.
One thing I like to do in my application is to build all the API interactions by using the form element to POST to our backend APIs. Then I enhance the form to use the fetch API and update my DOM with the returned data without requiring a page load.
Next Steps
- Checkout the source code for the example app at random doggo
- Let us know what other topics you’d like us to discuss on the blog.
- Join the Enhance Discord and share what you’ve built, or ask for help.