Animating Enhance Movies

by Cole Peters
@colepeters@mastodon.online
on
When it comes to animations on the web, less is often more. So when we were building our latest demo app, Enhance Movies, I knew I wanted to take a minimal approach to animations — just enough to lend the app a sense of sophistication, but not so much as to cause distraction and steal the show from the actual content of a page. (Not to mention that throwing too many animations on a page can be taxing for older/slower CPUs.)
In this article, we’ll walk through how these animations are designed and built in Enhance Movies, with the hopes of giving those new to CSS animations a little inspiration.
Category and genre listing animations
All of the animations in Enhance Movies are implemented with just four simple @keyframes definitions and a small selection of transition styles, along with a custom easing curve defined with the cubic-bezier function.
For those unaware, a @keyframes rule in its most basic form defines the initial and final states of animation using the from and to keywords (more detailed steps can be composed using percentages). Once a @keyframes rule is defined, its name can be referenced in the animation property to animate an element between the states defined in that rule. (Note that, because a @keyframes rule only defines what the states of an animation are, it’s up to the animation property to define how an element moves between those states. More on this below.)
Our keyframes stylesheet defines the three @keyframes rules used on each category and genre index page. You’ll notice that we have keyframes defined for a fade in animation, a ‘raise’ animation (in which an element starts vertically offset and ends in its normal position), and a ‘slide’ animation (the same as our ‘raise’ animation, but on the horizontal axis).
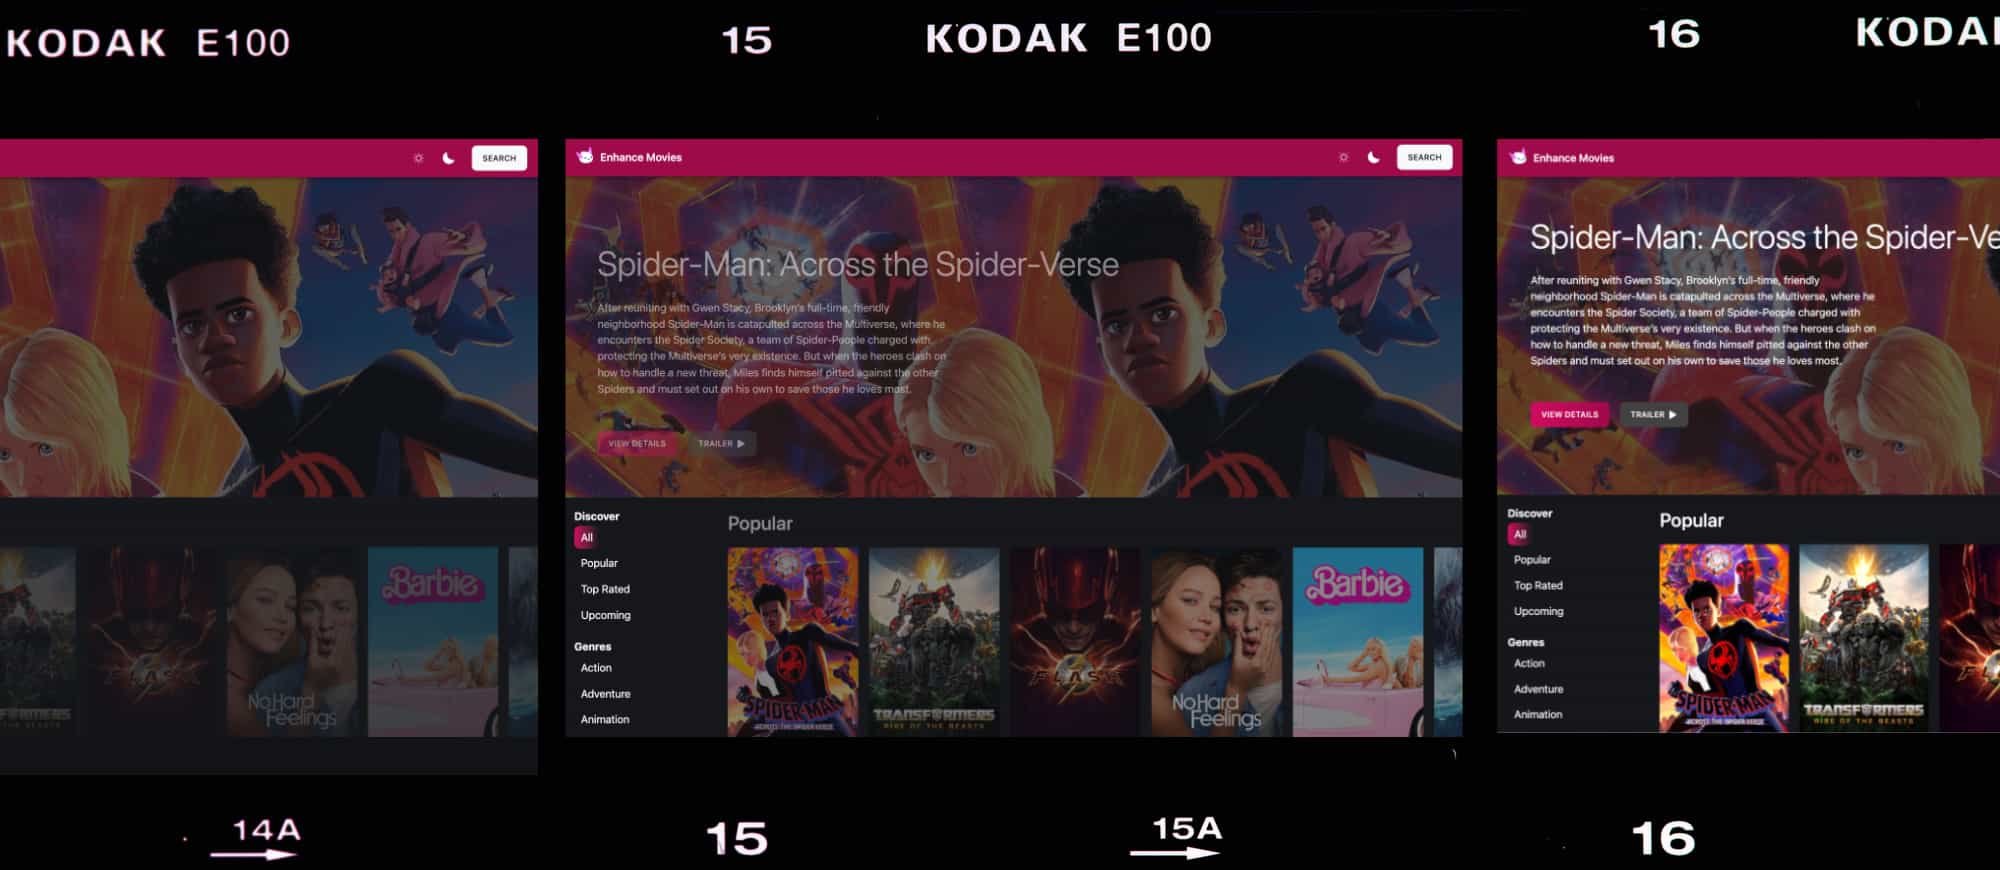
In Enhance Movies, each listing page — whether for a category such as ‘Popular’ or ‘Top Rated’, or for a given genre — starts by featuring a single movie from that listing. We render that section with our movie-feature element; you can check out these specific lines of code to see how we apply our animations in this section as discussed below.
First, the entire section is styled to use the fadein keyframes, and the animation is applied such that it will take 1 second to move from the start to the end of the animation. Additionally, we apply our previously mentioned custom easing curve to this animation. This instructs the browser to move from the start to end state of the animation in a nonlinear fashion, which gives the animation a more natural feel. (Check out the excellent easings.net for reference to a bunch of mathematically derived easing functions.)
Next, the raise animation is applied to the section contents (but not the section itself). This will cause the text and buttons within the feature section to animate upwards when the page loads, while leaving the background image in place, lending a sense of depth to the layout as it animates in.
Below each listing page’s featured movie, the full listing of movies also animates into view. For listing pages that use horizontally scrolling collections, this is handled in the movies-index-collection component; for listing pages that use a grid of movies, this is handled in the movie-grid component.
As you’ll note when looking at the linked styles above, these components compose two different animations together: the fadein and slide animations for the horizontal collections, and the fadein and raise animations for the grid. By setting the fadein animation to 2 seconds in length, and the raise and slide animations to 1 second, we create a more nuanced flow for these animations. Further, each component delays both of these animations for a quarter second; this is done to stagger the entrance animation of the feature section and the movie listing, thus creating a sequenced flow on each page load.
Movie page animations
For an individual movie’s page, we reuse the fadein and raise keyframes, but we also make use of a new @keyframes rule, filterin. These keyframes indicate that an animation should start with no filter styles, and should end with our movieBackdropFilter custom property applied. That custom property, depending on the current color scheme, will in turn be defined as one of two possible values, both of which work to make text set on top of the backdrop more legible.
We then apply these keyframes to the backdrop element’s animation property, setting a delay of 0.5 seconds. This is to allow the movie summary as a whole to fade in first (with the unfiltered backdrop) — then, after the summary fades in, the backdrop will animate to its filtered version (which generally means it animates from a sharp image to a blurred one).
This gives some life to the page by allowing the movie’s backdrop image to be seen in full detail before the additional content animates into view on top of it.
What about view transitions?
You may be wondering why I opted for animations that run each time a page loads, rather than working with the View Transitions API, as many other movie demo apps have tended to do. The primary reason I chose not to implement view transitions is simply due to the fact that this API is not yet available in all modern browsers. As the purpose of this app is to serve as a learning tool, I wanted to make the experience as consistent as possible for as many people as possible.
Secondly, while I think view transitions offer an intriguing opportunity to create a more organic sense of navigation between different web pages, I didn’t find them wholly necessary — especially after implementing the page load animations which, in my opinion, offer a more pleasing sense of depth than what I’ve seen in many view transition demos to date.
That said, I look forward to continuing to explore the View Transitions API as it becomes more generally available!
Coming up next
In a future article, I’ll dive into some of the more intriguing aspects of component styles used in Enhance Movies — including the color scheme switcher and some learning I had to do myself on the topic of CSS masks.
In the meantime, I hope this has been a helpful guide to how animations are handled in Enhance Movies! If you have any questions on these or CSS animations in general, be sure to join the Enhance Discord server.
See you next time!